A graphics card is an essential PC component as it processes and renders images, videos, and 3D applications. It also helps to improve the quality of these images. Many people think that a processor is the most important thing to consider when buying a computer, but the truth is that a graphics card can make or break your gaming or video editing experience. That’s why knowing how to check graphics card in a computer can help you find better graphics when upgrading. Additionally, having an up-to-date graphics card can help you get the best visual experience when using your computer.
On the other hand, we must first consider why such knowledge is essential when looking at how to check what type of graphics cards are in computers before going into the specifics of what type we need. This can differ based on various variables, but it mainly focused on budget limits and expected usage levels. For example, gaming computers usually require more power, while office computers typically have smaller physical requirements. If you know what GPU is already on your computer, you can better make a move and purchase a better card to keep up with the current-era games.
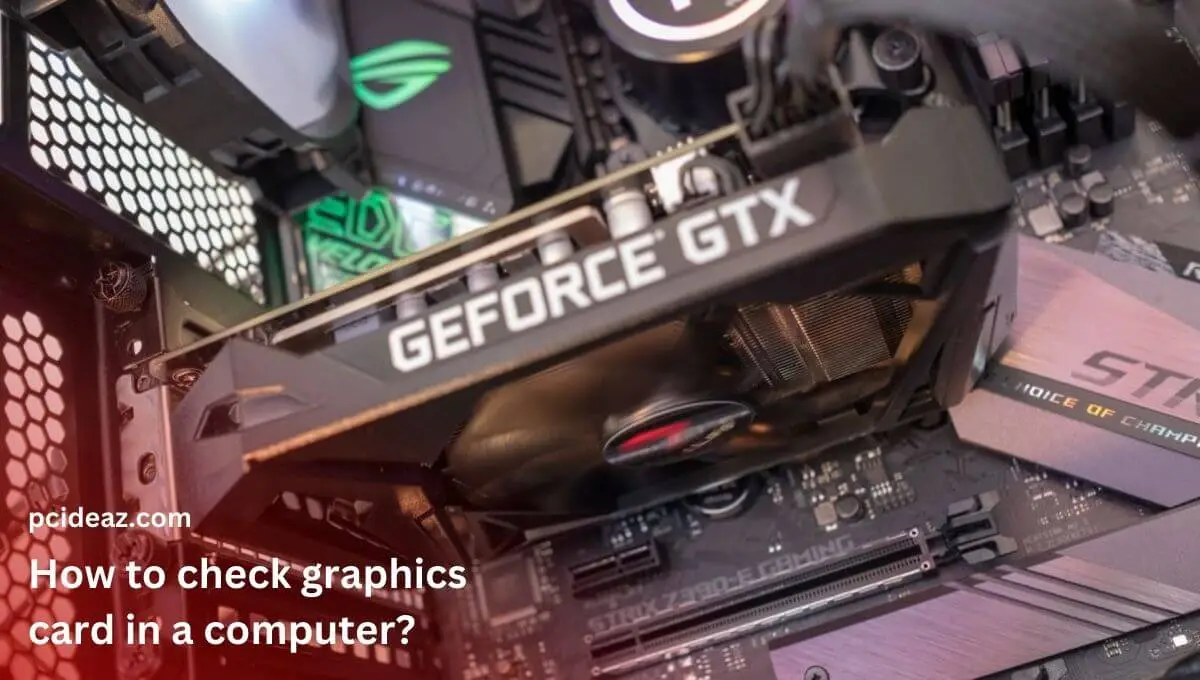
How to check graphics card in a computer?
There are several methods how for checking graphics cards in a computer. These vary depending on what operating system (OS) your computer has. Using the Device Manager on Windows or the “About” menu on a Mac, you may quickly view your graphics processing unit (GPU). But you must use the Desktop to find your graphics card on Linux. Therefore, in this post, we will look at four different methods to check your PC graphics on all these operating systems. Let’s get started without further due!
1. Checking graphics card on Windows
In this article section, we’ll discuss two methods to check the graphics card on Windows. First, we’ll do so by using the device manager. Second, we’ll explore the graphics on out computer with the help of Windows Settings. Let’s check these methods!
Method 1: Check via Device Manager
Step 1: Click the Start button
- Press the Windows key on your keyboard or click the Windows logo given in the lower-left keyboard section.
Step 2: Open the Device Manager.
- In the Start menu, type Device Manager > open Device Manager at the top of the search results.
Step 3: Find the Display adapters heading.
- The Display adapters header is located in the “D” section of the Device Manager window’s alphabetical list of options.
Note: This has a little chip-like symbol that looks like a monitor. To find it, you might have to scroll down.
Step 4: Double-click the heading Display adapters or click on the right-facing arrow.
- When you do this, it expands to display your installed graphics card.
Step 5: Check your graphics card.
- The Display adapters section will show your installed graphics card by name. You have a built-in and discrete graphics card if you see more than one name listed.
Note: Ensure to research your particular needs before selecting a new graphics card for installation. You can take help from our graphics cards category to get the necessary knowledge, read the reviews about different graphics cards, and choose one.
Method 2: Check using settings
The second method on the list to check the graphics card on Windows is by using settings. This is also an straightforward method to do the job. Let’s check it!
- Step 1: Open Settings by clicking on settings icon > select System.
- Step 2: Go to Display > scroll down to find the Advanced display settings > click it.
- Step 3: Find the Internal Display under the Display Information. Hers, you will see the graphcis card connected to the display.
- Step 4: Verify the manufacturer and model of the graphics card
Note: you can even open the Display adaptor properties to know more about the graphics in your computer. So you must try it if needed.
2. Checking graphics card on macOS Ventura
The most recent version of macOS is called Ventura. So we will discuss the latest method here.
- Step 1: Open the Apple menu by clicking the Apple logo in the top-left corner > access the drop-down menu.
- Step 2: Select System Settings > click General.
- Step 3: Go to About > select System Report.
- Step 4: Simply select Graphics/Displays located below the Hardware header.
Note: Click the arrow to the left of Hardware to expand the header if it isn’t already.
- Step 5: Look for the grapphics details from this section.
3. Checking graphics card on Linux
-
Step 1: Open the Terminal app by simply clicking Terminal app icon or pressing CTRL + ALT + T shortcut.
-
Step 2: Type “sudo update-pciids” in the termal window > press Enter.
-
Step 3: Enter the password > press Enter.
Note: The characters from the password will not appear when you type in Terminal.
-
Step 4: Type this command “lspci -v | less” once the PCI list is updated > press Enter.
-
Step 5: Locate the heading marked as “Video controller”, “VGA compatible”, “3D”, or “Integrated graphics” by scrolling up in the Terminal window.
Note: the graphics card’s code ID would be listed on the left side of any of the above-mentioned headings.
- Step 6: Copy the code number to the clipboard or memorize it.
Note: The format of this number, which is often to the left of the graphics card’s heading, is as follows: 00:00.0
-
Step 7: Open a new Terminal tab as you did in Step 1 by clicking Terminal app icon or pressing CTRL + ALT + T shortcut.
-
Step 8: Type “sudo lspci -v -s” with your graphics card’s ID you found earlier > Enter it.
-
Step 9: Look up for your graphics card’s details here.
Conclusion
Checking the graphics card in your computer is vital for optimal performance and visual experiences. If you’re experiencing problems with your graphics card, try updating your drivers or installing new ones. This can often resolve issues with crashing or stuttering. If that doesn’t work, you may need to replace your graphics card altogether. Taking the time to ensure that everything is up-to-date will allow you to get the most out of your machine and ensure that all applications run smoothly and efficiently. I hope this article will be very beneficial for you.