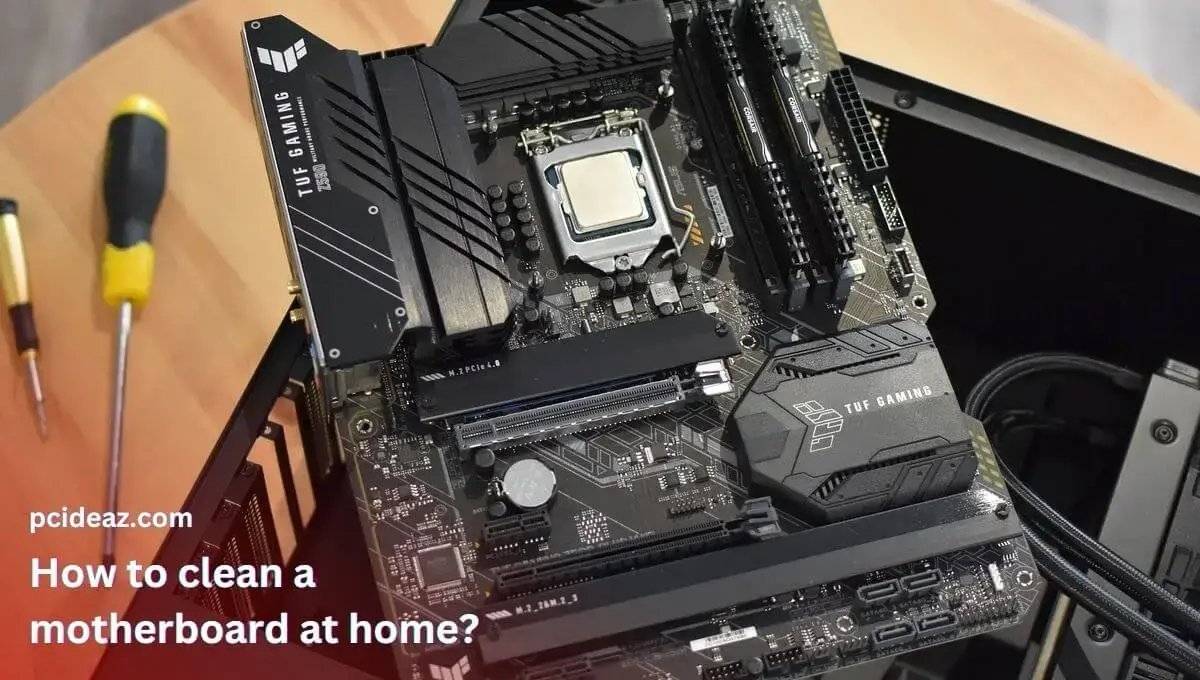
A motherboard is like a pillar in your computer, holding and supervising most computer components. If you aren’t taking care of your motherboard correctly, it will become dirty over time and may affect your computer’s overall performance. In addition, if you don’t regularly maintain it, a dusty motherboard might short circuit, overheat, and even stop functioning. As a result, maintaining a dirty motherboard’s cleanliness is essential. Now that you know the importance of cleaning, it’s time to dive deeper into the topic.
Several different connectors, ports, and devices are attached to your motherboard, making it challenging to take care of and clean. Therefore, it is essential to know How to clean a motherboard at home without damaging or affecting its components. Therefore, you must be careful and carefully read all of the instructions before you take any action. Remember that your computer is a delicate piece of machinery, and even the slightest scratch or rough handling could affect how well it performs. Let’s uncover everything!
Essential tools needed to clean motherboard
- A screwdriver to remove the case screws, open it, and remove the other components screws like hard drive, graphics card, etc.
- A compressed air can blow the dust away.
- Isopropyl alcohol with 99% purity to use in deep motherboard cleaning.
- Cotton swabs or lint-free soft cloth to apply isopropyl alcohol and clean it and the dust.
- A soft brush, etc., make-up or nylon-bristled brush to clean the dust.
- A metal container that is larger than your motherboard
Quick precautionary tips
Although there is a lot to know before cleaning your motherboard, it’s essential to know a few precautionary tips to avoid any hazardous actions. Some quick tips or precautions when cleaning a motherboard include as follow:
- Turn off your computer and power supply, and remove the power plugs. It’s an essential step that you must follow before anything related to cleaning.
- Always use isopropyl alcohol with 99% purity to clean your motherboard; do not use water or something like that since it can short-circuit the motherboard.
- Get in touch with the warranty provider if it has one before cleaning your motherboard or if the board is facing some severe issues.
- Follow all the safety steps, like wearing gloves, goggles, etc., especially if you’re deep cleaning the motherboard using excessive isopropyl alcohol.
- Ensure to put a safety mask on your face and nose, plus clean your motherboard in an open environment with adequate aeration and clean surroundings.
How to clean a motherboard at home?
First thing first, if you’ve never cleaned a motherboard before, continue with extreme caution. Even a single wrong move could harm the device and make it useless in the future since motherboards are delicate. Moreover, you should also know whether it’s just a regular motherboard cleaning or you have to remove heavy bulks of dust from the motherboard and its components. If the motherboard doesn’t have much dust, it only needs routine cleaning.
In contrast, only a few motherboards need a deep cleaning if they haven’t been cleaned for years. For more information, deep cleaning and routine cleaning are the two main approaches to motherboard cleaning. Alcohol and great caution are necessary for deep cleaning. This cleaning is required when the motherboard has been introduced to a dirty environment or has had something thrown on it. If done incorrectly, you risk damaging the motherboard. You should include routine cleaning in your regular computer maintenance program.
You don’t need to take your computer’s motherboard out of the case or use a lot of specialized equipment. Most people just need to clean their motherboards in this way. Ensure the device has no power in it before using any liquid cleansers. This is essential to avoid harm to the motherboard and secure your safety. Remember that putting any liquids on the motherboard will likely destroy any remaining manufacturer’s warranties.
Let’s learn more about both motherboard cleaning methods!
Method 1: Routine Cleaning
In a routine cleaning, use compressed air and a very soft brush to give your motherboard a regular cleaning. Turn off your computer and the power supply, and unplug it from the wall before you begin. Since dust will blow out of the computer, you should place it in a simple, clean space.
- Step 1: Open the computer’s side panel; remove each panel if there are more. This gives the required room so that the dust may leave the machine.
- Step 2: Use compressed spraying air on the machine’s parts to remove most dust from the motherboard and its components.
Note: Your starting point will change depending on how your machine is set up. Since dust will fall and collect on lower components as you move down, it is better to start at the top and work your way down.
- Step 3: Carefully reach your motherboard from the back of the casing to the front. Keep using compressed air on the motherboard until all loose dust has been removed.
Note: You don’t want your motherboard to come into direct contact with the compressed air can’s tip. Therefore, maintain a 1-inch distance between it and the motherboard.
- Step 4: Keep blowing the compressed air into the case and onto the motherboard parts once the excess dust has been removed.
Note: Check the motherboard to determine if there is any remaining dust on it. It can be challenging to reach some places, or there might be dust that has gotten caught there that you wish to get rid of.
- Step 5: Use the soft brush to gently remove any dust stuck on the motherboard.
Note: To get rid of any dust the brush brought up, spray compressed air once again across the computer and all of its parts, including the motherboard.
- Step 6: Assemble everything, plug in the power connectors, and turn on your computer.
It’s a good idea to perform additional computer maintenance while cleaning your motherboard. The case fans may be taken off, cleaned, and dried. You can tidy up any overlapping cables or check your wiring for loose connections.
Method 2: Deep Cleaning
A motherboard should only be deep cleaned when it is entirely essential. Like if there is so much dirt on the motherboard that it feels smudged on it. But this method is slightly different from the previous method for routine motherboard cleaning. Before thoroughly cleaning a computer, the motherboard must be removed. Additionally, you shouldn’t plug anything else into it. Ensure to avoid cleaning the CPU, cables, or other attached devices and only the motherboard.
Try this if the motherboard is dirty.
- Step 1: Place the motherboard on the lint-free towel.
- Step 2: Identify the dirty areas on the motherboard. This step is necessary since you shouldn’t have to wet the entire motherboard to clean it if only a little portion is unclean.
- Step 3: Wet the lint-free cotton pad with isopropyl alcohol and gently rub it on the motherboard’s dirty areas. Keep repeating this method until the dirt is entirely removed.
Note: you can also use dry cotton swabs to soak the extra isopropyl alcohol from the motherboard if you have put too much.
- Step 4: Let your motherboard dry for at least 12 hours. Once the board is dry, install it back into the computer.
How often should I clean my motherboard?
Most experts recommend cleaning the motherboard at least once every three to six months. But this period also depends upon external conditions as well. Suppose you have placed your computer in a dusty environment may be due to the nature of your work. In such a case, you may have to clean your computer and motherboard every three months. On the flip side, those who work on their computer in an air-conditioned room may need to clean their computer even in six months.
What are the advantages of cleaning the motherboard?
There are several benefits of cleaning your computer and motherboard. First, removing the dust opens all the computer holes and reveals the surfaces to enhance the heat dissipation that ultimately prevents it from overheating and improves its performance. Second, your overall system will look good, and you will love to work on it, improving your productivity. Therefore, you must regularly check your motherboard and the inside of your case to see if you need to clean it more often.
Conclusion
Cleaning a motherboard has several benefits. Your motherboard performs well, manages the temperature effectively, and lasts longer, saving you bucks. But you must know the proper way to clean your motherboard once in three to six months to do things right. Therefore, we have discussed two methods in this post to thoroughly clean your motherboard. The first is for those motherboards with only a little dust on them. But the second one is applied if too much dust is smudged on the motherboard. Use one of them according to the motherboard’s condition.
