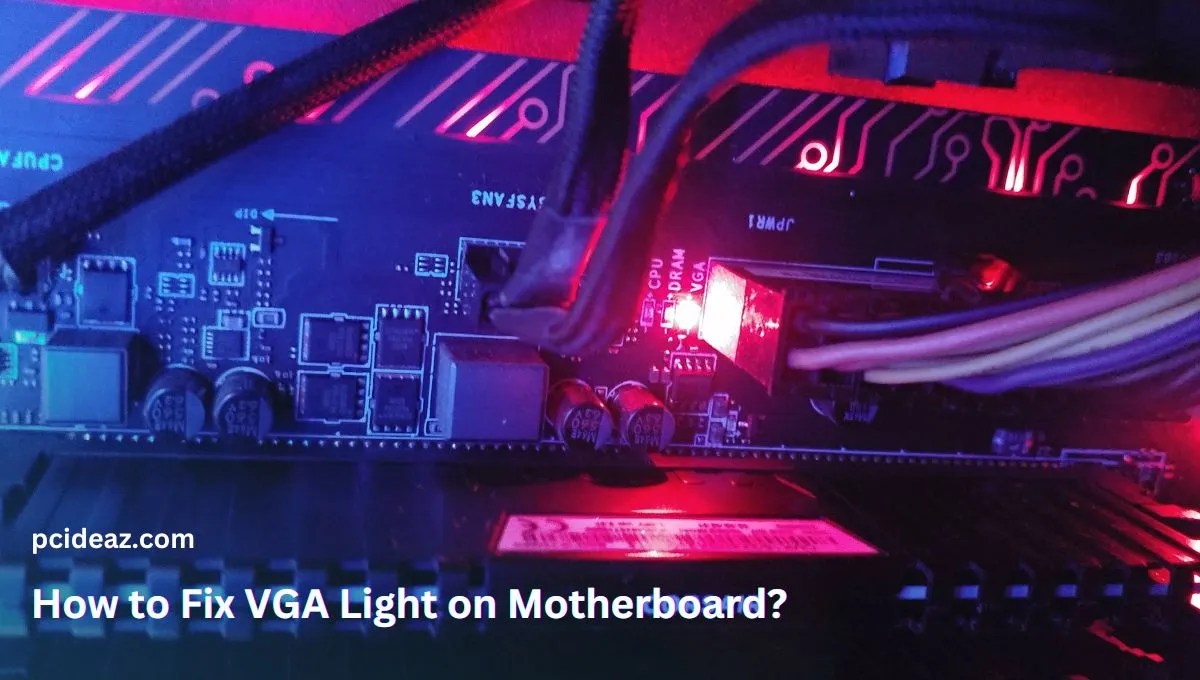
The VGA (Video Graphics Array) light on a motherboard refers to a light or LED indicator indicating whether the graphics card is properly connected and functioning. If the VGA light is not functioning correctly, it can indicate an issue with the graphics card, negatively impacting the computer’s performance.
Fixing the VGA light is important to ensure the smooth operation of the computer and to prevent any potential problems that may arise from a malfunctioning graphics card. In this article, we will discuss the reasons behind faulty VGA light and a step-by-step guide to learning how to fix VGA light on motherboard.
Key Takeaways
- The VGA light on a motherboard indicates whether the graphics card is properly connected and functioning.
- Causes of VGA light issues include outdated or corrupted graphics card drivers, faulty graphics cards, loose or disconnected cables, and incorrect graphics card configuration.
- To fix VGA light issues, try checking and updating graphics card drivers, checking connections, trying a different graphics card, and configuring graphics card settings in the BIOS.
Causes of VGA Light Issues
-
Outdated or corrupted graphics card drivers: The VGA light can be affected by outdated or corrupted graphics card drivers. When drivers are outdated or corrupted, they can prevent the graphics card from functioning correctly, leading to issues with the VGA light.
-
Faulty graphics card: A faulty graphics card is another common cause of VGA light issues. A damaged or malfunctioning graphics card can prevent the VGA light from functioning correctly, indicating a problem with the graphics card.
-
Loose or disconnected cables: Loose or disconnected cables can also cause the VGA light to malfunction. If the cables connecting the graphics card to the motherboard are not adequately secured, they can become loose or disconnected, leading to issues with the VGA light.
-
Incorrect graphics card configuration: The VGA light can also be affected by incorrect graphics card configuration. If the graphics card is not properly configured, the computer may not recognize it, which can result in issues with the VGA light.
Steps to Fix VGA Light on Motherboard
Step 1: Check and update graphics card drivers.
-
Determine the type of graphics card: To determine the type of graphics card, you can use your computer’s device manager or system information tool.
-
Visit the manufacturer’s website to download the latest drivers: After determining the type of graphics card, visit the manufacturer’s website to download the latest drivers for the graphics card.
-
Install the updated drivers: Once they have been downloaded, install them on your computer and restart the system to ensure the updates take effect.
Step 2: Check the Connections.
-
Ensure that the cables are securely connected to the graphics card: Check that the cables connecting the graphics card to the motherboard are securely connected and not loose.
-
Check for any bent or damaged pins: Check the cable connections for any bent or damaged pins and repair or replace them if necessary.
-
Check for any loose or disconnected cables: Ensure that all cables are correctly connected and not loose or disconnected.
Step 3: Try Connecting a Different Graphics Card.
-
Obtain a replacement graphics card: If the VGA light continues to be a problem, you may need a replacement graphics card.
-
Install the replacement card and test if the VGA light is fixed: Install the replacement card and test if the VGA light is fixed.
Step 4: Configure the graphics card settings
-
Enter the computer’s BIOS settings: Enter the computer’s BIOS settings by pressing the appropriate key during boot-up.
-
Select the graphics card configuration options: Within the BIOS settings, select the graphics card configuration options to ensure the graphics card is configured correctly.
-
Ensure that the graphics card is set as the primary display device: Ensure that the graphics card is set as the primary display device and that the correct resolution and refresh rate are selected.
It’s important to note that these steps are general and may vary depending on the type of motherboard and graphics card being used. Before attempting any repairs, it is recommended to consult the manufacturer’s instructions and support resources.
Tips When Fixing VGA Light
Here are some recommendations for troubleshooting VGA light issues on a motherboard:
-
Consult the manufacturer’s instructions and support resources before attempting any repairs.
-
Keep the computer and graphics card drivers up to date.
-
Ensure that all cables are securely connected and free from damage.
-
If the VGA light issue persists, try a different graphics card to see if the problem is resolved.
-
Regularly check the computer’s BIOS settings to ensure the graphics card is configured correctly.
-
If the problem remains unsolved, consider seeking assistance from a professional technician or computer repair service.
By following these recommendations, you can ensure that the VGA light on your motherboard is functioning correctly and that your computer is operating optimally.