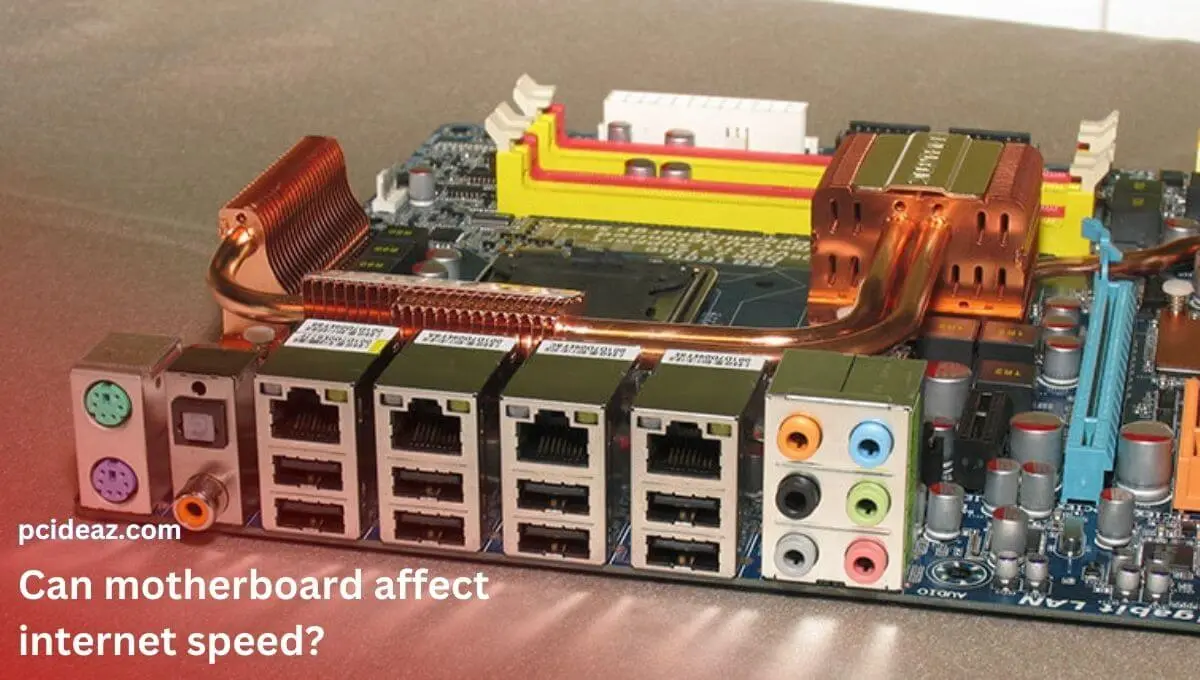
Jumping a motherboard refers to the process of connecting two pins on the motherboard temporarily using a jumper wire or cap. This technique is used to modify the behavior of the motherboard or resolve certain issues. It is important to follow the instructions carefully when jumping a motherboard as improper placement of the jumper can result in damage to the motherboard.
It is recommended to only attempt jumping the motherboard if you have experience with the process or seek assistance from a professional. If you’re looking for a guide on how to jump a motherboard, you’ve come to the right place. In this article, we will show you the steps you need to take, from understanding your motherboard’s jumper settings to correctly installing it. With our comprehensive guide and detailed instructions, you’ll be able to jump your motherboard.
Necessary tools
The following tools are typically required when jumping a motherboard:
-
Jumper cap: A jumper cap is a small plastic cap that is used to connect two pins on a motherboard. The jumper cap is placed on the pins to be connected, creating a bridge between them.
-
Screwdriver: A screwdriver may be required to remove any panels or covers that need to be taken off in order to access the pins on the motherboard.
-
Power source: The motherboard must be connected to a power source in order to initiate the jump.
-
Antistatic wrist strap: An antistatic wrist strap may be used to prevent damage to the motherboard from static electricity.
It is important to only use tools that are specifically designed for the process of jumping a motherboard, as using other tools may cause damage to the motherboard. Before jumping a motherboard, make sure to gather all of the necessary tools and have a clear understanding of the process.
How to jump a motherboard?
The procedure of jumping the motherboard is quite easy so let’s discuss it in detail:
- Step 1: Shut down your computer and disconnect the power cord from the power supply.
-
Step 2: Wear a wristband that is anti-static and connect it to something grounded. This is done to avoid the accidental discharge of static electricity, which can harm delicate electronic components. Antistatic straps are sold by the majority of electronics retailers.
-
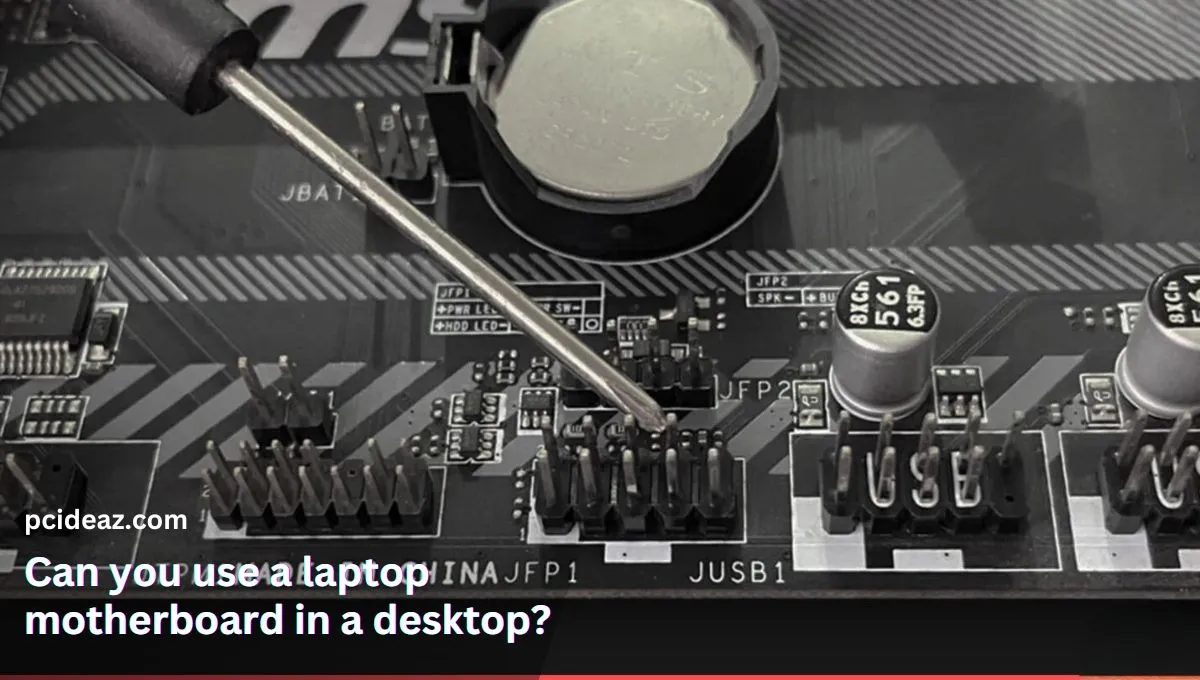
Step 3: Open your computer case and locate the motherboard. Look for the set of pins near the bottom of the motherboard that correspond to the power button. They are typically labeled “PWR_SW” or “POWER SW” on the motherboard.
-
Step 4: Identify the two pins that correspond to the power switch. They will be a pair of pins next to each other, and they will be the pins that the power switch is connected to. Common configurations include a primary power connector with 20 or 24 pins, as well as a 4 (22) pin connector for an additional 12V power supply for the CPU voltage regulator. Refer to your motherboard manual if you’re not sure which pins to use.
-
Step 5: Take a small piece of conductive metal, such as a screwdriver or a jumper cap. Be sure to choose a tool that is small enough to fit between the two pins and won’t touch any other components on the motherboard.
-
Step 6: Hold the conductive tool so that it touches both of the pins at the same time. This will complete the circuit and simulate the effect of pressing the power button.
-
Step 7: Once the circuit is complete, you should see your computer turn on. If it does not turn on, double-check that you are touching the correct pins.
-
Step 8: Once your computer is on, you can remove the conductive tool from the pins.
-
Step 9: If you need to turn off your computer, you can simply press and hold the power button for a few seconds until it powers down.
Note: Be very careful when working with the motherboard, as any accidental damage can be costly. Ensure that you have unplugged the power cord before opening the computer case, and always double-check that you are touching the correct pins before completing the circuit.
Preventive measures
Preventive measures are important to follow when jumping a motherboard to ensure that the process is done safely and that the motherboard is not damaged.
-
Read the manual: Before jumping a motherboard, make sure to read the manual and understand the specific pins that need to be connected and the desired behavior of the motherboard.
-
Use proper tools: Use the proper tools, such as a jumper wire or cap, to connect the pins to the motherboard. Do not use any tools that are not specifically designed for this purpose as they may cause damage to the motherboard.
-
Seek assistance: If you are unsure about the process or do not have experience with jumping a motherboard, seek the assistance of a professional.
-
Turn off the power: Always turn off the power to the system before placing the jumper cap on the pins.
By following these preventive measures, you can ensure that the process of jumping a motherboard is done safely and that the motherboard is not damaged.
Conclusion
In conclusion, jumping a motherboard is a technical process that requires experience and knowledge. It is best to seek the assistance of a professional, this will help to ensure that the process is done safely and that the motherboard is not damaged. By following the instructions and preventive measures, you can ensure that the process is done successfully and that the motherboard is not damaged.
