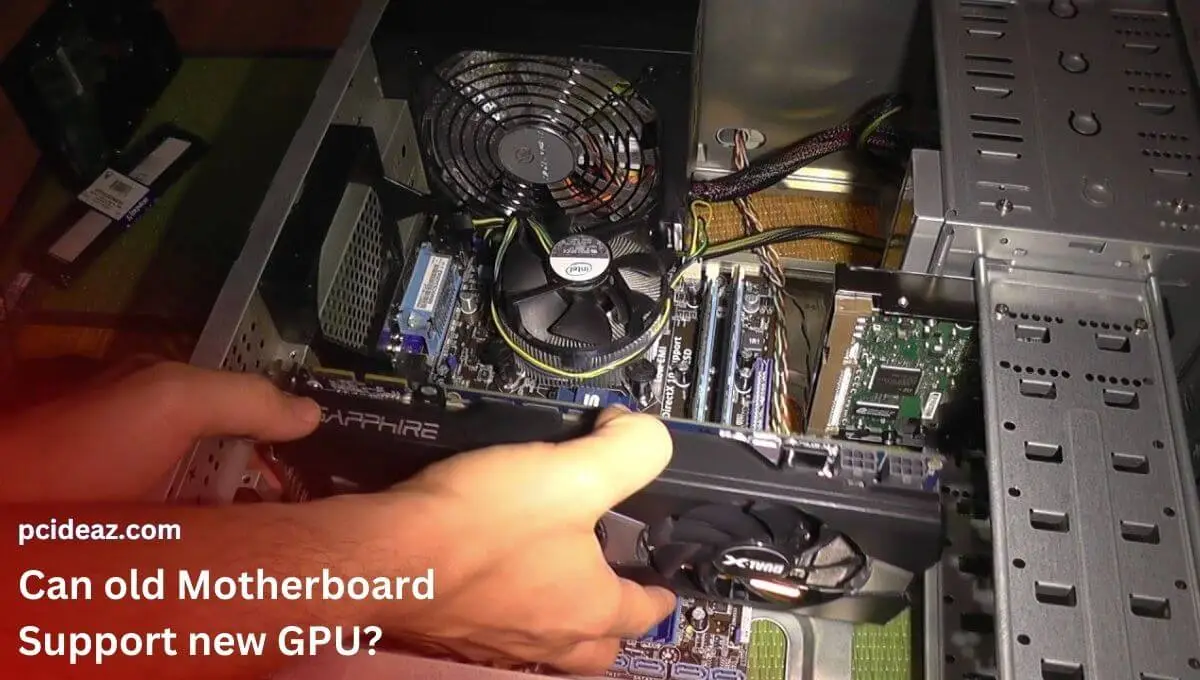
A graphics card, sometimes known as a GPU, is one of the most important components in a system, particularly for gaming and content creation. In addition, the motherboard plays an important part in overall performance since it will control the graphics card, overclock it, and allow it to perform true potential. If your computer isn’t detecting your graphics card, you’re probably frustrated and wondering what to do. Fortunately, this is a relatively common problem, with some easy solutions.
This blog post will explain why your motherboard might not recognize your GPU and how to fix it. Keep reading to find out how to get your PC up and running again. First, do all you can to discover what’s causing the problem. However, when you combine an external graphics card with the motherboard, you will most likely encounter this issue. For your knowledge, we have covered every aspect of this issue, so please continue reading. So don’t worry; read this post to the finish to fix this problem.
Key Takeaways
- The graphics card is an essential computer component, especially for gamers, content creators, and developers.
- If your motherboard isn’t detecting it, you can try a series of fixes given in this article and resolve the issue efficiently.
Motherboard doesn’t detect GPU: Possible Solutions.
The issue will be that the system will not identify your graphics card. For example, you might have purchased a new graphics card, and the system cannot recognize it. Malfunctioning drivers or incorrect BIOS settings might cause the issue. A defective graphics card might also cause it.
1. Examine the Graphics Card Slot
The graphics card slot is sometimes the source of the problem. Your graphics card can be inserted into slots on your motherboard. One of these slots may be damaged, resulting in this problem.
-
Step 1: Remove your computer’s rear cover.
-
Step 2: Examine the motherboard and graphics card slots. Turn on the computer and check whether the graphics card is active, such as if its fan is spinning.
-
Step 3: If the graphics card fails to power on, the problem might be with the slot, which could be defective or damaged.
-
Step 4: Turn your computer off and remove the graphics card. Place the graphics card in another slot and see if it works.
-
Step 5: Try them all if the graphics card still needs to be identified and you have more slots available. There may be numerous defective or malfunctioning slots at times.
2. Uninstall and reinstall graphics drivers
Check your graphics card drivers are installed and up to date. If you already have the drivers installed, you should reinstall them (probably a clean install) and see if it fixes the problem. Many problems may be solved by just reinstalling the drivers. As a result, the click control center cannot be launched; check to see whether this resolves your problem.
3. Set your graphics card to its default settings
Sometimes a simple solution is to set your graphics card as the default graphics. This option is available to people who can view their graphics card on their Nvidia panel (or other graphics card panels).
-
Step 1: Navigate to the control panel. Right-click on your desktop and choose the Control Panel.
-
Step 2: Select 3D Settings.
-
Step 3: From the left pane, select Manage 3D Settings. It should be in 3D mode.
-
Step 4: Go to the Program Settings tab.
-
Step 5: Choose the software you wish to use for your graphics card. You may choose the software from a drop-down menu in Choose software to customize the section.
-
Step 6: Choose a High-performance CPU from the drop-down menu. For this application part, select your desired graphics processor.
Close the panel and try to start the application with the graphics card set as the default device. You may repeat the preceding procedures for additional key programs if it works properly.
4. Examine the power supply
Examine your power supply’s power ratings and how much power your graphics card requires. The fact that your graphics card’s fans are spinning does not imply that the power lines are correctly connected. Sometimes the graphic card is only half-powered, which might be causing this issue. You must purchase a separate power source if you require more power than the minimal requirements.
5. Update the BIOS Settings
There are a few BIOS options that you may modify. This ensures that incorrect BIOS settings don’t cause the problem. The settings that must be modified and the methods required to make such changes are listed below.
-
Step 1: Restart the system.
-
Step 2: When your computer restarts, press Esc, F8, F12, or F10 when your manufacturer’s logo displays.
-
Step 3: You may also determine which button to click by looking at the screen’s corner, which displays your manufacturer’s emblem. The button varies depending on the manufacturer.
-
Step 4: You might be in the BIOS menu or viewing a list of options. If you see several possibilities, there should be a BIOS menu option among them.
-
Step 5: Look for a GPU or IGPU Multi Monitors option. If you have one monitor, ensure this option is turned off.
-
Step 6: Search for PCI and PCI-E settings. PCI, Onboard, PCI-e, and onboard backup are all possibilities.
6. Restore BIOS to Default
Many customers have found that resetting the BIOS to its default settings works. Reset your BIOS to factory settings and see if it solves the problem.
-
Step 1: Restart the system.
-
Step 2: You might be in the BIOS menu or viewing a list of options. If you see some possibilities, there should be a BIOS menu option among them. You may browse to that option using the arrow keys and press Enter to access the BIOS menu.
-
Step 3: Once in the BIOS menu, seek a Restore to Defaults or a version of that choice. Again, the selections will vary by manufacturer, but you should have this option. Check this box and hit Enter.
Once your BIOS has been reset to its default settings, reboot to see whether the problem has been repaired.
7. BIOS must be updated
Many people addressed the problem by upgrading their BIOS to the most recent version. Updating your BIOS to the most recent version ensures that your system will work with the most recent hardware. Of course, this post cannot explore several more advantages of changing your BIOS. We’ve already written in-depth tutorials on how to upgrade your BIOS.
8. Uninstall Windows Updates
Several reports of Windows updates have introduced a bug that causes drivers and other software issues. There is a straightforward solution to disable Windows updates. Although this option is only accessible for a limited time, it is worth exploring.
-
Step 1: Press and hold the Windows key.
-
Step 2: Choose Updates & Security.
-
Step 3: From the left pane, select Recovery.
-
Step 4: Press the button. Begin in this section. Return to an older build. Please keep in mind that if the button is grayed out.
-
Step 5: You should be OK if you follow the on-screen directions.
-
Step 6: Uninstall the program and follow the on-screen directions.
-
Step 7: Delete any additional changes from the same day.
-
Step 8: After that, reboot to see whether the problem has been addressed.
Conclusion
Ultimately, you want to ensure that the motherboard detects the graphics card. If it’s not, you can take a few troubleshooting steps. First, try reseating the card. If that doesn’t work, try swapping out the ports on the motherboard. If the motherboard is still not detecting the card, it might be time to replace it.
