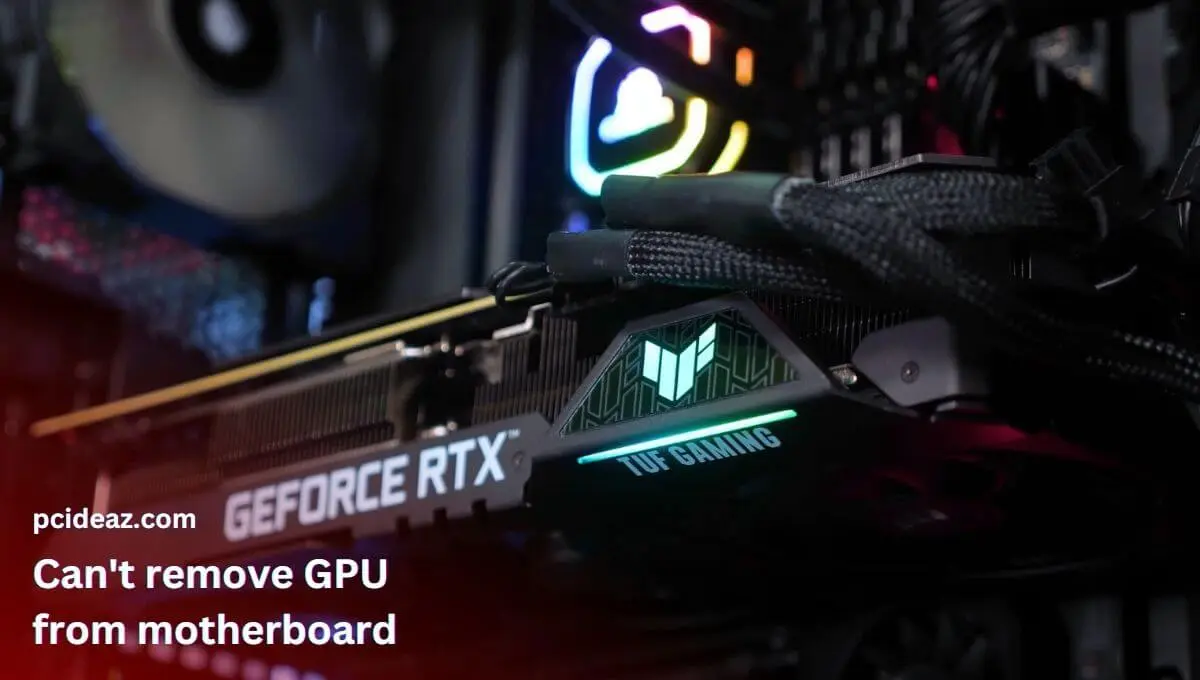
Removing a GPU from a motherboard can be tricky, especially if you are unfamiliar with the process. However, with the right tools and knowledge, it is a task that can be accomplished relatively easily. This guide will walk you through a step-by-step guide on removing a GPU from your motherboard, including tips and tricks to make the process as smooth as possible. We will also cover some common issues you may encounter and how to troubleshoot them.
Before you begin the process, you must ensure that your computer is turned off and unplugged from the wall. This will prevent any damage to your components or injury to yourself. Additionally, you will want to ensure that you have the necessary tools, such as screwdrivers and antistatic wristbands, before starting the process. With the proper preparation, you can easily remove your GPU from your motherboard and upgrade or replace it as needed.
Key Takeaways
- Gather the necessary tools, disconnect the cables, open the case, detach the graphics card, and remove it carefully.
- Ensure to follow all the precautionary steps like uninstalling the GPU drivers, wearing antistatic wristbands, etc.
Few Quick Tips
When removing the graphics card from the motherboard, you must follow a few quick tips or precautions. Those include as follows.
- Uninstall the driver updates: Start the computer and uninstall any existing graphics drivers or software to prevent issues when installing the new graphics card.
- Wait for 20 seconds once cables are removed: To prevent computer damage, wait 20 seconds before unplugging any cables from the back of the computer, including the power cord and audio and display connections.
- Remove the case cover: You must carefully remove the PC case. You can even consult the instructions handbook on removing the case cover, as it is done differently by system builders.
Can’t remove GPU from motherboard: Follow this
Step 1: Make everything ready.
You can remove your graphics card after making sure it is dedicated. You must prepare the computer and obtain tools to remove your graphics card. Uninstalling the GPU drivers is the first thing you should do because it’s important and may impact how well your graphics card performs. You’ll do this to get your PC software ready for the new hardware. The new graphics card may clash with the outdated drivers and severely impact your display if you don’t uninstall the drivers.
Additionally, remember to obtain the drivers for the new graphics card before uninstalling the old one and store them on a CD, hard drive, or USB flash drive so that you can install them after connecting the new card. Prepare your equipment first to make your job easier, and avoid pulling for screwdrivers when removing the card. You risk damaging the components if you touch them with hands that are static-charged. Moreover, you must keep your computer case in a tidy and clean spot.
Step 2: Disconnect all the cables.
Make sure nothing is plugged into a power outlet before opening the computer’s case and touching its delicate electronics.
- Switch off the PSU on the back of the case and the computer.
- Remove all of the accessories from the case, including the keyboard, mouse, USB flash drives, monitor, and others, and make sure nothing is still connected by unplugging all the power connections.
Step 3: Open the case.
Since the clamps holding the side panel in place are secured by screws or bolts, removing the side panel from the case is relatively simple.
- Turn the case on its side to better look at the interior components.
- You might even require some special screwdrivers to remove the screws. It would help if you studied the user handbook to prevent harming the case.
- Once done, carefully remove the opening side of the case panel.
Note: There may be different methods for opening a computer case depending upon the brands. The panel may have been attached in other ways by the manufacturer. Therefore, you should read the manual to better understand the removal process.
Step 4: Locate the graphics card
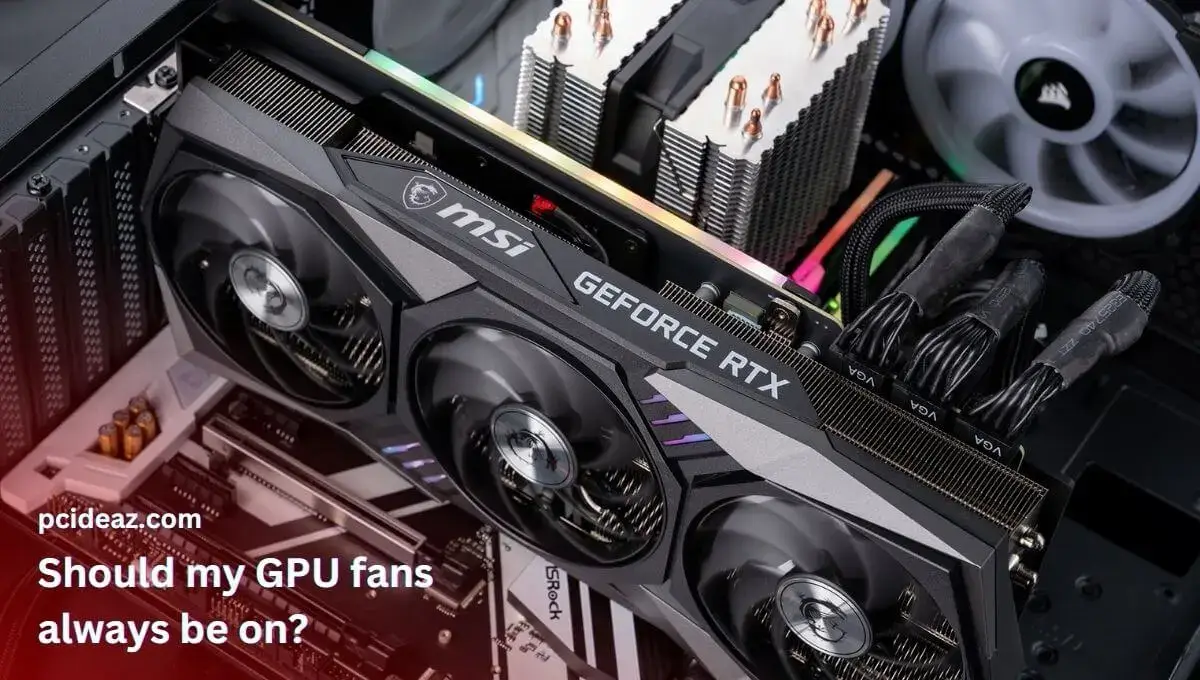
As previously mentioned, it should be easy to locate the graphics card since it is close to the CPU and connected to the motherboard via a PCI-e slot. Most graphics cards have six- or eight-pin PCI-e power supply lines. You can remove the power connections of the graphics card from the motherboard as follows:
- PCI-e cables feature a little lever underneath them.
- Pull the lever down gradually until it releases.
- Take away these wires and any additional specialized cables that link the graphics card to other devices.
Step 5: Remove the graphics card.
It’s essential to determine how the graphics card is mounted within the computer when removing it.
- You might need to remove mounting brackets or water-cooling hoses using a different technique depending on the type of connections.
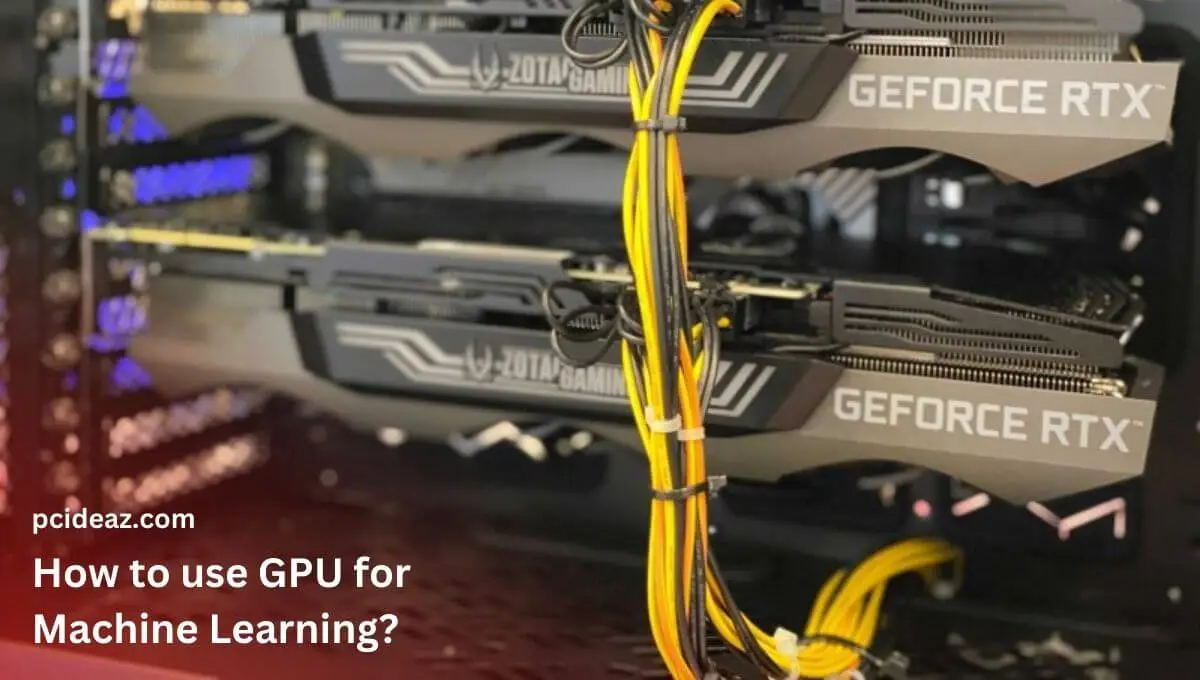
- The majority of dual graphics cards are linked together using an SLI bridge, which you need first to uninstall.
- The GPU detaches from the panel but remains connected to the motherboard when these screws are removed.
- Once the graphics card is detached from the motherboard and computer, you must carefully pull it out of the PC case.
What occurs if my graphics card is removed?
A graphics card’s primary function is to provide a video signal to your monitor, allowing you to interact with your computer. If your graphics card is removed, your computer will no longer be able to display graphics on a monitor unless your processor has an integrated graphics card. If available, your computer will default to using the integrated graphics processor (IGP) on the motherboard.
The integrated graphics processor (IGP) is built into the CPU and can handle basic graphics tasks such as displaying your desktop and running basic programs. However, it is not as powerful as a dedicated graphics card and may not handle more demanding gaming or video editing tasks.
The lack of a dedicated GPU will also limit the resolution and refresh rate of the display and may affect the performance of applications that use the GPU. Overall, the performance of your computer will be affected, and you won’t be able to use your computer for any graphics-intensive tasks such as gaming, video editing, 3D rendering, etc.
Conclusion
Removing a graphics card from a motherboard requires a few simple steps. First, turn off your computer and unplug it from the wall to ensure safety. Before completely removing the card, you may disconnect any power cables or other connectors. Next, locate the release lever or tabs on the back of the card, and use them to release the card from the motherboard. Carefully lift the card out of the slot, mindful of any cables or connectors attached. Remember to handle the card gently and with care to avoid damaging any components.
