A clean PC will operate better overall. Long-term gains come from cleaning your computer, including critical parts like the graphics card. Compressed air, screwdrivers, isopropyl alcohol, a dusting cloth, patience, and these items are required to awaken the GPU. The graphics card must first describe conditions from the motherboard. Use additional cleaning products and compressed air in a way that gets the video card’s functionality back. This article will provide the ideal procedures, suggested equipment, and detailed instructions for cleaning your computer’s graphics card.
Key takeaways
- A clean graphics card can perform better since it can maintain a suitable temperature and be appropriately overclocked.
- When cleaning your graphics card, it’s essential to collect all the necessary tools and follow all the steps to do everything right.
Tools required to clean a graphics card
A GPU can be cleaned surprisingly easily. You only need a few tools unless you’re trying for a complete clean.
-
Buying an air pump/blower or a can of compressed air is the first and most crucial step. It will be the primary factor in getting rid of all the dust.
-
If your dust or debris isn’t overly caked on, you could theoretically use a vacuum, but I haven’t had the best luck with them. Even if compressed air or an air pump is dirty, they work.
-
It’s also a good idea to get some isopropyl alcohol of at least 70% purity, but 90% is preferable to wet your swab or cloth to remove any dust or dirt quickly.
-
Finally, grab a Phillips #1 screwdriver if you intend to remove your GPU to clean it.
-
Even though thumbscrews are the majority of GPU bracket screws used today, it’s best to be safe than sorry.
That is all you require.
How to clean your graphics card?
One of the best techniques to repair a damaged video card is cleaning. We will provide you with proper instructions on how to clean the graphics card in this article.
Step 1: Switch Off your PC and power supply
You must first turn off your PC and power supply. A PC should only be used for work if you are sure you know what you’re doing and won’t make a mistake. Even still, it is wiser to choose the path of caution than to risk expensive gear. How to turn off the Pc and power supply? Simply switch it off within the OS you have installed there, then wait for all of your computer’s lights to turn off. While you could simply hold down the power button to turn it off, doing it the right way is safer and ensures that nothing gets corrupted.
Once you’ve finished, you must shut off the PSU. Your PSU still gives your PC a little power even when it is off. Therefore, you must stop this if you wish to clean your computer. At the back, where you plug it in, almost every half-decent PSU includes a switch you can use to turn it off. Turn the switch. I also frequently unplug the power line from the PSU. You are not required to do this, but It would rather be safe than sorry. Even ancient Chinese PSUs have on/off switches, so if your PSU doesn’t have one, purchase a new PSU first.
Second, you can simply unplug the power line to achieve the same result.
In short:
-
Shut down your computer by holding down the power button or the operating system.
-
On the back of your PSU, flip the power on/off switch.
-
Disconnect the cable from the PSU.
Step 2: Unplug all external cables connected to the GPU
The best time to remove any display cables connected to your GPU, or your PC in general, if you intend to take it outdoors to clean it off, is after you’ve finished turning everything off. This step may be excluded if you only plan to lightly clean the GPU without removing it.
In short:
-
The GPU cables should all be removed.
-
If you wish to take your PC outside to clean it, unplug all of its cables.
Step 3: Remove your PC case to access the GPU
Now that your case has been opened, you can access your GPU for cleaning. It’s best to read your guide first to learn how to securely remove the side panel of your computer because different cases may have different ways. In most current models, your side panel will typically be secured to the case with two thumbscrews. You may easily slide or open up the side if you get rid of them.
In short:
-
Please refer to your case manual.
-
Any screws or locks holding your side panel in place should be removed.
-
Place the side panel in a secure area after sliding it off or opening it up, especially if it is made of glass.
Step 4: Take the GPU out of the motherboard.
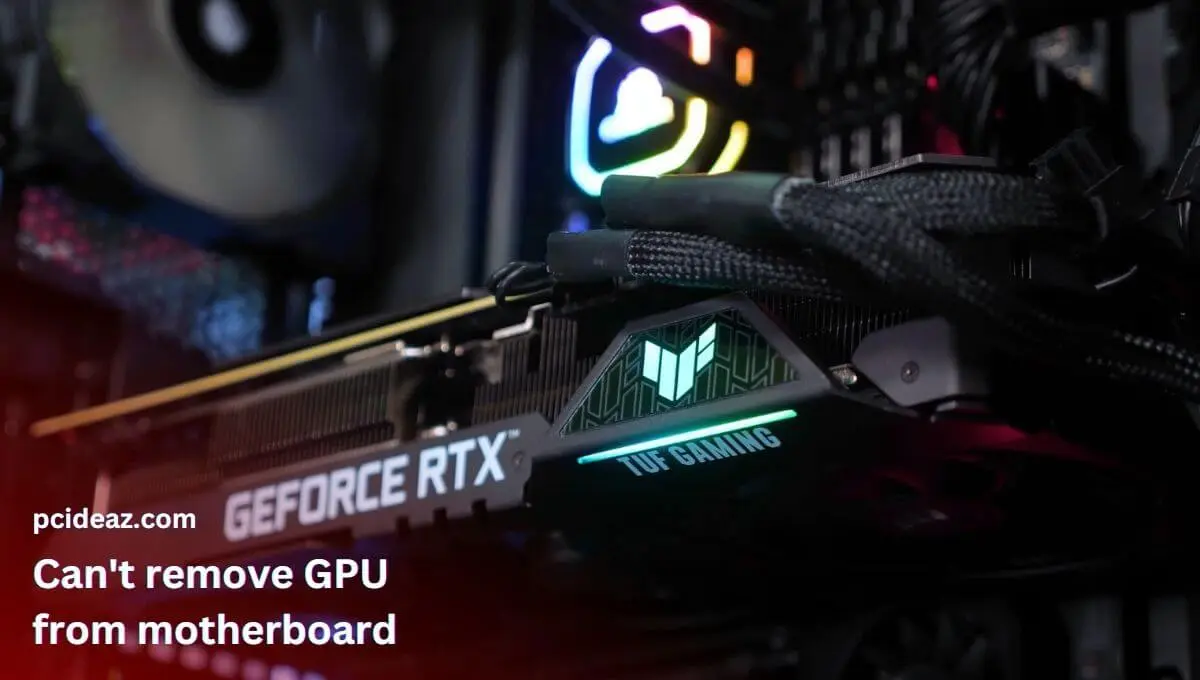
You can skip this step if you want to clean your GPU without a lot of fuss quickly, but I suggest it because it will make cleaning much easier. Remove any power cables that may be attached to your GPU first. Usually, it will be on the other side of the I/O. Second, locate the screws that hold the GPU to the PCIe bracket near the rear of the case. Most likely, there will be one or two screws there. Take them out.
Third, and this is the tricky part, place your hand inside the case close to the GPU’s front and try to locate the PCIe slot that the GPU is connected to. Moving forward, you should feel a kind of latch as you approach the front of the PCIe slot. It serves to protect your GPU. Back it up. Carefully remove the GPU I/O side when you feel the latch release. Because GPUs have a tiny hook-like element that fits into the PCIe socket, you should handle the I/O side first. You risk breaking it if you pull carelessly.
In short:
-
If your GPU has a power cable attached, remove it.
-
The screws holding your GPU to the PCIe bracket must be removed.
-
Drag down the PCIe lock.
-
remove the GPU I/O side.
Step 5: Clean Your GPU
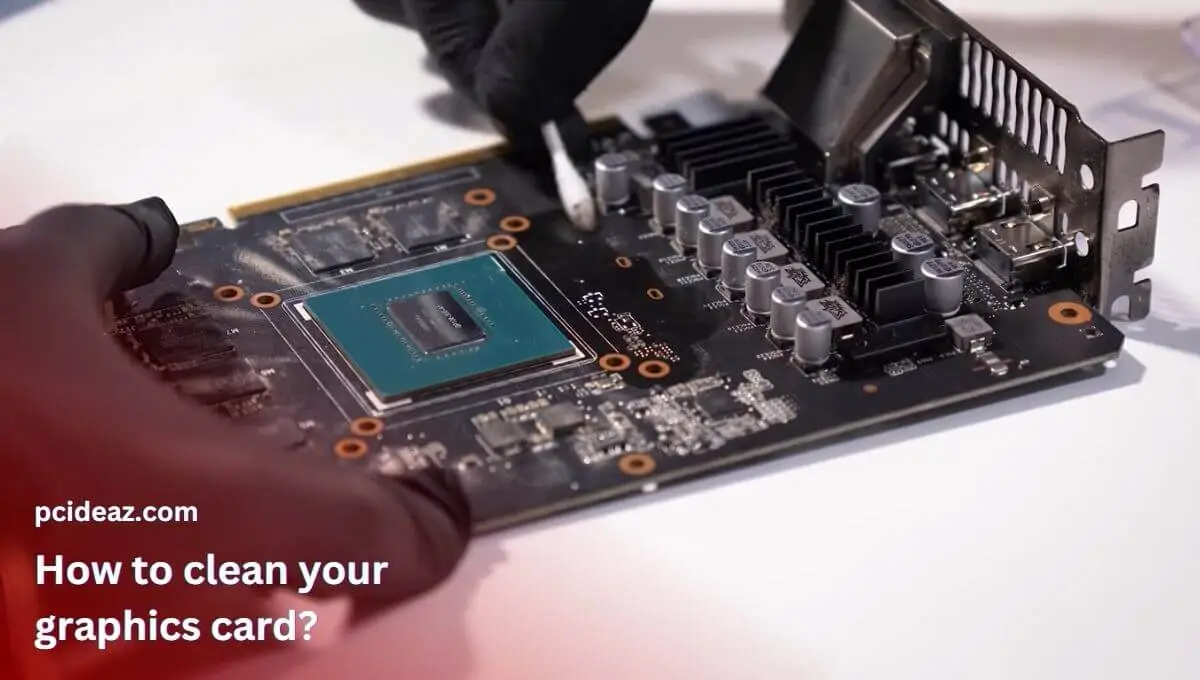
If you decide to entirely remove the GPU, just lay it flat on a clean, non-carpeted surface, such as a table, and then clean it. Because it can send highly focused and directed gusts of air that can remove all the sticky dust between the fins, a can of compressed air can be helpful in this situation.
In short:
-
If you’ve pulled the GPU out of the casing, place it on a spotless, non-carpeted surface.
-
If you haven’t removed the GPU from the case, take the case outside.
-
To clean the GPUs outside, use a microfiber cloth, swabs, and isopropyl alcohol.
-
To remove the dust inside the GPU, particularly the dust inside the fins, use your pressurized air can or air pump.
-
Allow the GPU to sit idle for a few minutes to allow any remaining isopropyl alcohol to dissipate.
-
Enjoy your GPU after re-plugging it into your computer.
Why is cleaning your graphics card necessary?
In the situation that you don’t, it will overheat and malfunction. That’s how easy it is. GPUs are expensive purchases. It’s not as if you can just toss a broken one in the trash and pop another in at random—unless you’re wealthy, of course, but still, don’t do that. As a result, you must take care of it and give it regular cleaning so that it doesn’t suddenly stop working one day while you’re playing a competitive game or producing a long movie.
How often should you clean a graphics card?
It is recommended to clean your graphics card at least every 6 to 12 months or whenever you notice a significant accumulation of dust or other debris. However, suppose you’re using your computer in a particularly dusty or dirty environment or for tasks that generate a lot of heat, such as gaming or video rendering. In that case, you may need to clean it more frequently.
Conclusion
The article provides instructions on how to clean a graphics card, which can improve its performance. The tools for cleaning a graphics card include an air pump/blower or compressed air to remove dust, isopropyl alcohol of at least 70% purity to clean the GPU, and a Phillips #1 screwdriver to remove the GPU from the motherboard.
When starting, It is safer to turn off the computer and power supply the right way and to refer to the case manual when removing the side panel. Once it’s done, start unplugging all external cables connected to the GPU, remove the side panel of the computer case and the GPU from the motherboard, and clean it before installing back in.
